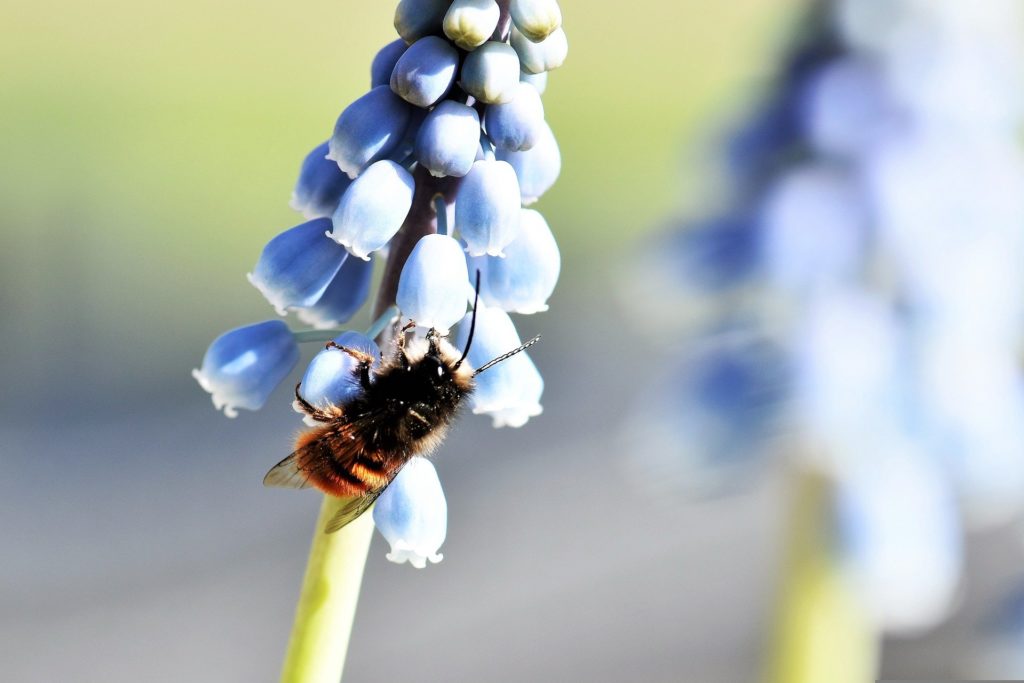
Allowing nature to take the lead creates ideal situations for pollinator health and survival. (Photo: Pitsch via Pixabay)
Although wild bees remain in peril, the science on how to best support them has evolved. Constructed or bought mason bee houses are no longer recommended for gardens.
(Not sure what a mason bee is? Learn how to identify different bee species!)
The Xerces Society stresses habitat creation and protection for all insect life stages via garden design and maintenance, including careful selection of plant species.
Mason (and leafcutter) bees are cavity nesters and may take to human-constructed homes. But these homes may inadvertently spread diseases and mites. Mason bees can also crowd out other native bees and other pollinators, creating an unhealthy environment.
If you’re considering creating a bee sanctuary, first review the Xerces Society fact sheets and consider the motto: “habitats over homes.” Allowing nature to take the lead creates ideal situations for pollinator health and survival.
I already have a mason bee home. How do I care for the bees?
If you already have a wild bee sanctuary that contains mason bee homes, take responsibility for increasing the likelihood of healthy bees emerging in spring.
First, make sure you have an appropriate bee home. Some companies are taking advantage of people’s willingness to help native mason or leafcutter bees by selling faulty products. You may have unintentionally bought “death traps.”
Check your mason bee home to see if it meets these requirements, inspired by Colin Purrington’s tips. Does it have:
- The right kind of bee on the label. See a picture of a honeybee? Take that as a clue the creators are clueless. Bee homes are for solitary species like mason and leafcutter bees. Learn how to tell the difference.
- Removable tubes or trays. In October, mason bee cocoons need a bath to reduce bee deaths by keeping parasite numbers low and preventing disease spread. If the tubes are glued in, you won’t be able to harvest and clean bee cocoons to increase their chances of survival.
- Nesting tubes that close at one end (at the back of the house). This will stop another access for parasites.
- Nesting tubes about 15 centimetres long. Anything shorter and you’ll end up with a skewed sex ratio or mostly males. Females are in the deeper chambers. The hole diameter for mason bees should be .79 centimetres (or the diameter of an HB pencil).
- No slivers or sharp edges! Check tubes for inside splinters that will damage bee wings and bodies. (When bees emerge in spring, exiting the tubes should not be a death-defying feat!)
- A roof with an overhang. If too much water gets in, it’ll cause mould, as in our homes!
- A solid attachment or mount. Homes should not dangle from a string or wire. This is something you can easily fix if the house meets all other criteria.
- Breathable nesting tubes. Avoid glass and plastic straws. They can mean more condensation and mould. Paper tubes or natural plant stems are best.
- Instructions. The home should come with details about which species it will help, how to hang it and how to care for bees. If it doesn’t, follow this guide or find an up-to-date book or workshop.
After bees emerge in the spring, consider decommissioning your mason bee home and creating a pollinator-friendly garden instead.

Create a wild bee sanctuary
Wild bees need our help. Many populations are declining due to habitat loss, disease and pesticide poisoning. Bees are more likely to thrive in your backyard, community or patio garden and on mixed farms than on acres devoted to single crops. Urban settings mean short flight paths and a variety of different plants and flowers to sample.
Why do I need to harvest and clean the bee cocoons?
Harvesting and cleaning bee cocoons is a lot like washing and maintaining bird feeders, baths and houses to help keep songbirds and hummingbirds healthy.
Cleaning cocoons keeps parasite numbers low and prevents disease spread in the colony. Washing cocoons and the bee house removes pollen mites, parasitic wasps, dermestid beetles and fungal pathogens that feed on pollen, nectar and developing bees. The goal is to reduce bee deaths and have healthy cocoons to release in spring!
How to harvest and clean cocoons in fall

The best time of year to harvest and clean bee cocoons is between October and December. The bees will be fully formed by then.
You’ll need:
- Scrap paper or newspaper
- Scissors
- Chopstick/stir stick
- Glass measuring jug
- Room-temperature water
- Spoon
- Oxygen bleach (liquid)
- Sieve
- Paper towel or re-use tissue paper
- Clear plastic lid
- Flashlight
- Jar with lid (and punched holes)
- Small paper box and tissue paper
- Scrub brush
1. Prepare work area
Cover your work area with scrap paper to collect debris like mud and bee poop. Remove all plastic or wood trays from the bee house.
2. Check your bee house and tubes
Look for holes in the tube and if mud at the entrance has been compromised (see Step 5 below). Put suspect cocoons to the side. Mark or make note of the front and back end of tubes. Females are in the deeper chambers (more than 75 millimetres from the nesting hole). Males occupy the outer chambers (emerging first in spring). It’s possible to get an idea of male to female ratio by noting their size and location in the tube. Typical ratio is 2:1 male to female.
3. Open trays and tubes
Gently open plastic trays or cut homemade paper tubes (use scissors or remove tape). For houses made with reusable paper straws try using a dowel. Carefully pry cocoons (small brown ovals between mud walls) off with a chopstick or stir stick and set them aside. Inside are fully developed hibernating bees!
4. Identify contents
Carefully separate cocoons from other contents. You may find:
- Black: gnat-sized, parasitic chalcid wasp
- Bright yellow: pollen mite poop or frass
- Brown/black: poop
- Cream: dermestid beetle larvae that eat hibernating bees
- Crescent-shape: mummified larvae infected with deadly chalkbrood fungus (dark and abnormal looking)
- Dark grey: cocoons (males are often smaller; females are larger)
- Grey: mud (it can take a bee 12 mouthfuls of mud to create one cell wall!)
- Orange or reddish “sand”: pollen mites (e.g., Chaetodactylus krombeini) that eat what the bees need
- White: mould
- Yellow: pollen
Check images from Crown Bees and Oregon State University to help.
5. Identify “suspicious” cocoons
Non-parasitized mason bee cocoons will be firm to the touch and dark grey. Keep these. Go back to the tubes/tray you sorted. Cocoons that are lighter in colour and “crispy” to the touch are likely full of tiny parasitic wasps. One infested cocoon can contain up to 60 developing wasps! (Many gardeners attract parasitic wasps to combat garden pests. Consider adding parasitized cocoons to your bug hotel.)
Not sure? Spread the cocoons on a clear surface (bottom of a glass jar or on a clear plastic lid). In a dark room, shine a flashlight underneath and discard those that look hollow.
6. Wash viable cocoons
Place cocoons in jug of room temperature water. (They’re buoyant and water repellent.)
Agitate by stirring with your hand to loosen stuck-on dirt, feces and mites. Debris will fall to the bottom. Scoop cocoons with a sieve and place in a bowl or pail of five per cent oxygen bleach solution. Soak for five to 15 minutes, stir and then scoop them up with the sieve. Rinse them well to remove all traces of oxygen bleach. Do not use soap or detergent — that will kill the bees! Place washed bees on a cloth or paper towel to dry for about an hour.
7. Bee cocoon winter storage
Add clean cocoons to a small paper box wrapped with paper towel. Place the box inside a plastic yogurt container or glass jar — whatever will keep rodents and moisture out. Punch air holes in the lid. Store your container in the fridge at 0 to 5 C (60 to 70 per cent humidity), in an unheated garage or outside. Ants, woodpeckers, squirrels, racoons and bears can wipe out mason bee colonies. They’re more likely to survive the winter if you eliminate this risk!
8. Clean the house
Bees prefer clean nests! Soak trays in soapy water, scrub them with a brush and rinse thoroughly. Soak again in a five per cent liquid oxygen bleach solution to kill bacteria and fungi. Spray the entire bee house with the oxygen bleach, rinse well and dry. Store the house until next spring before you hang it and release cocoons.
How to release mason bees in the spring

Wait for outside temperatures of 12-14 C in spring.
Watch your local weather closely in March or April, depending on where you live.

Hang your clean home.
Mount out of the rain (under an eave is nice), facing south or east. Hanging at eye level will make observing the bees easy.

Release cocoons.
Bring your jar or container of cleaned cocoons inside from the yard or garage. Keep the container at room temperature inside for a day before placing bees outside. Tape the jar or container with cocoons to your house or tuck inside the nesting unit if there’s room. This should keep them safe from predators like rats, raccoons and birds until they wake up and fly away!

Be patient.
It’s worth waiting to release bees if you’re experiencing inclement weather, like cold and rain for several days. Depending on how many cocoons you have, you may want to stagger your release numbers over a few days to avoid losses if the weather turns nasty. Cocoons can be stored in the fridge and released when sunny.
Note: Males (small cocoons) emerge first, then females (large cocoons). Most bees will emerge within 48 hours.
After the bees have emerged, decommission your mason bee home.
Be a bee-hugger

Be a bee-hugger and instead keep sections of your yard untidy to allow wild bees to build their own homes! It’s less maintenance AND you’ll support wild bees naturally.


